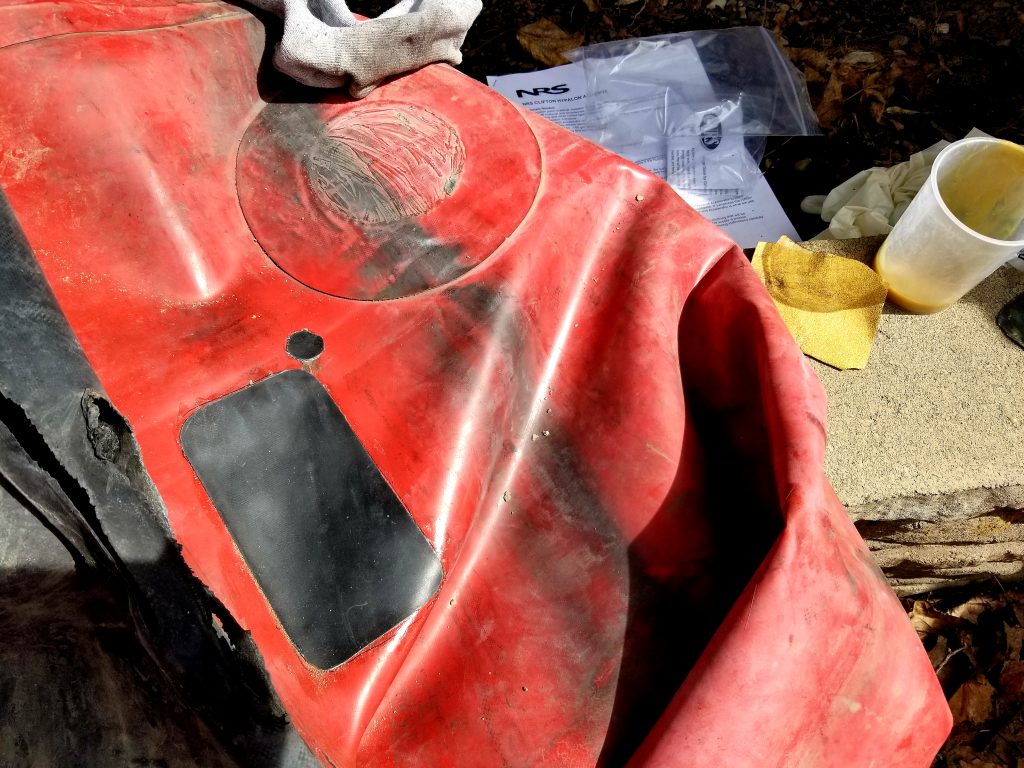
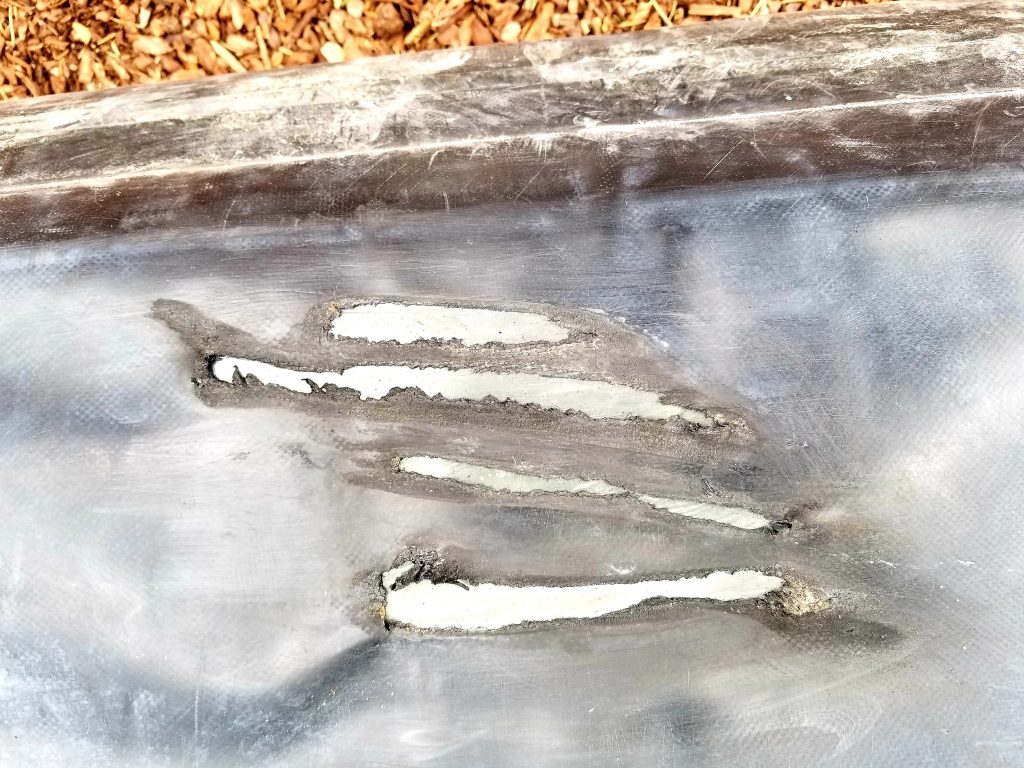
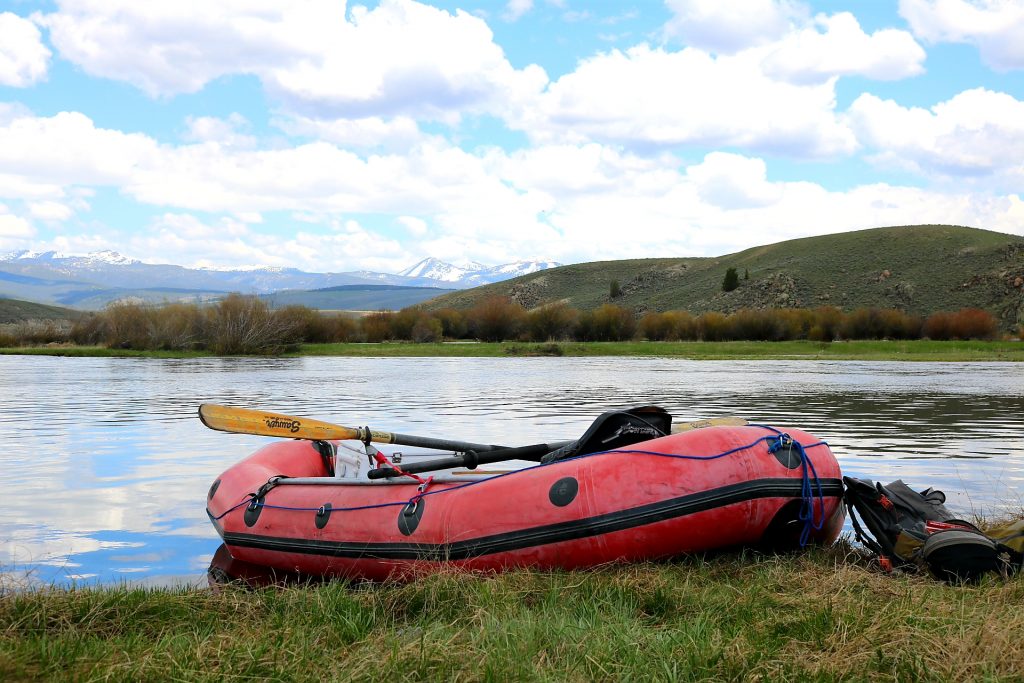
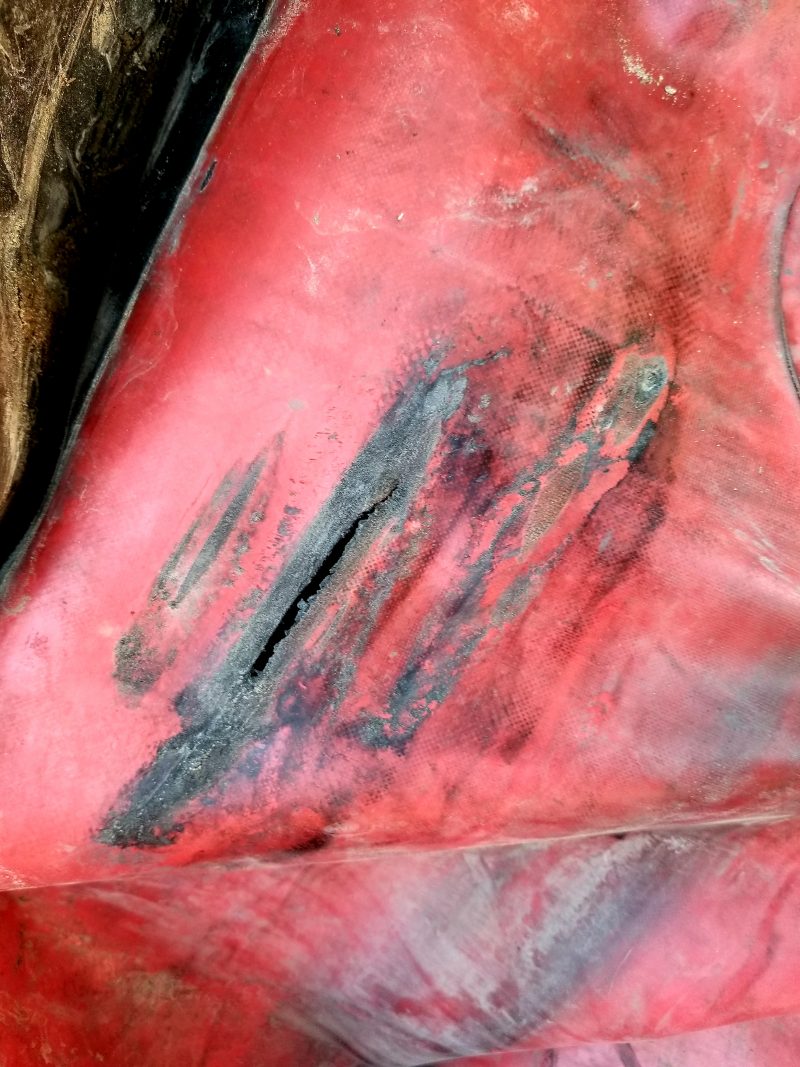
Hypalon Raft Repair – I own an old Achilles bucket boat and took it down the Smith River in Montana this year. I had picked up a trailer for the boat and it didn’t fit between the wheel wells. I rode it sitting on one wheel well to the river with no issues. After the float, my van had a flat tire and I rushed loading to get to a repair shop in Great Falls. I had it on the wheel well again but with additional weight this time. The weight rubbed the tire which burned through the plastic wheel well and put a hole in the raft floor and the tube. I saw it deflate on the trailer and stopped before it shredded the tube.
I applied a patch to the tube and floor and it actually seems to be holding without issue after a few floats. The NRS instructions and other youtube channels were helpful and I followed those instructions. Here’s how that whole process went down and some suggestions based on what I learned while doing the patch.
Hypalon Raft Repair Kit:
- Hypalon material – I ordered it from NRS directly. It’s heavy duty and came in a big roll. Used for the floor and the tubes. I discovered smaller, cheaper patches (still solid hypalon) being sold at the Trailhead in Missoula and could have saved some bucks going that route. They actually had everything I needed at the store.
- Clifton Hypalon Glue and Accelerator – Definitely get the accelerator
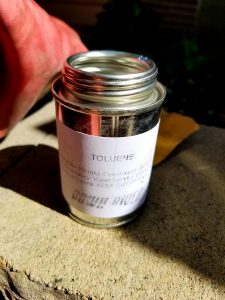
- Toluene – Necessary for cleaning
- Sand Paper – 180 grit
- Gloves – I did some cheap latex ones but heavier duty are recommended
- Eye protection – Wore my sunglasses but actual protective ones are recommended
- Respirator – I skipped this and was careful to not breathe in fumes. I put my shirt over my face and was working outside. The glue is no joke and a respirator is a good idea for anything more than small patches.
- Roller tool – I went with the cheapest roller rasp one from NRS and it worked just fine. Definitely worth the purchase though.
Patching the Tube
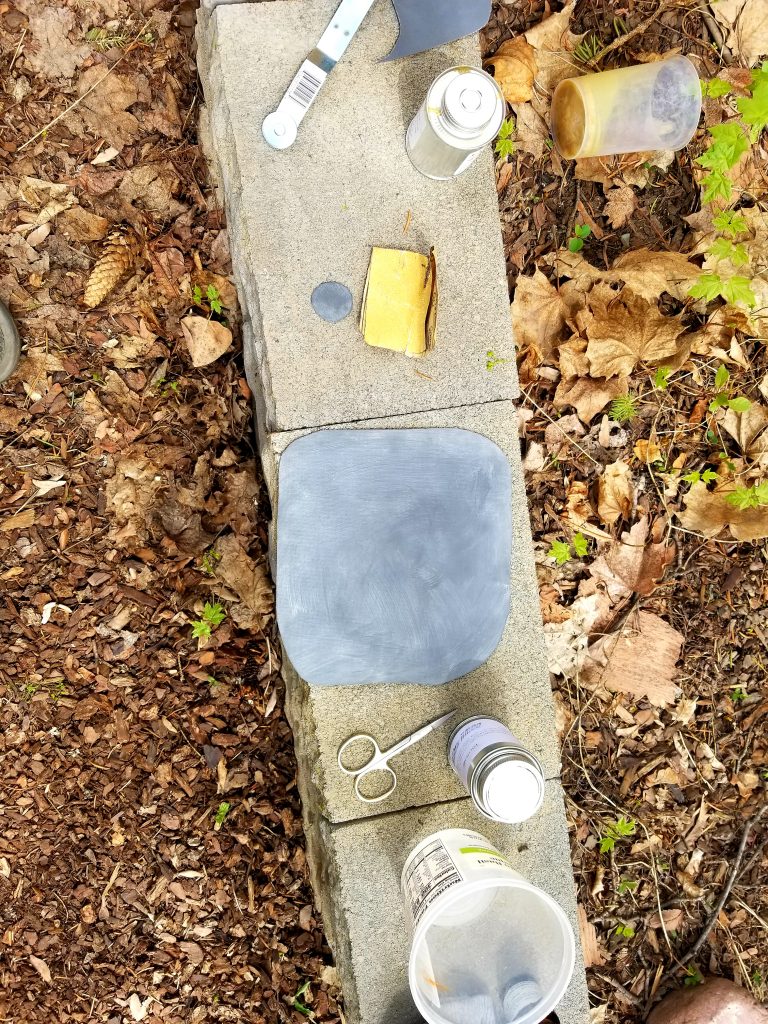
- Lay the raft out on a flat surface where you can work easily. I only had the front yard option and laid the torn tube section on some concrete pavers for a nice working area.
- Cut your patch with rounded edges. You want the patch to extend a few inches beyond the tear.
- Trace the patch and sand the surface area that will be covered and the patch itself. You want to sand it down until the sheen is no longer on the material but not so far that it works down to the threads. You’ll have a good idea when it’s roughed up enough.
- Take a rag and clean the patch and raft surface with Toluene. Let it dry for 10 minutes. You will see it evaporate off pretty quickly in the sun. Get everything good and clean, it makes a big difference.
- I poured about 1/4 of the small glue can into a small plastic mixing cup and added a few drops of the accelerator. I probably used too much accelerate because the glue set quicker than anticipated. 1-2 drops of this stuff is just fine.
- Mix the glue and accelerator then thoroughly cover the patch and the outlined patch area (separately).
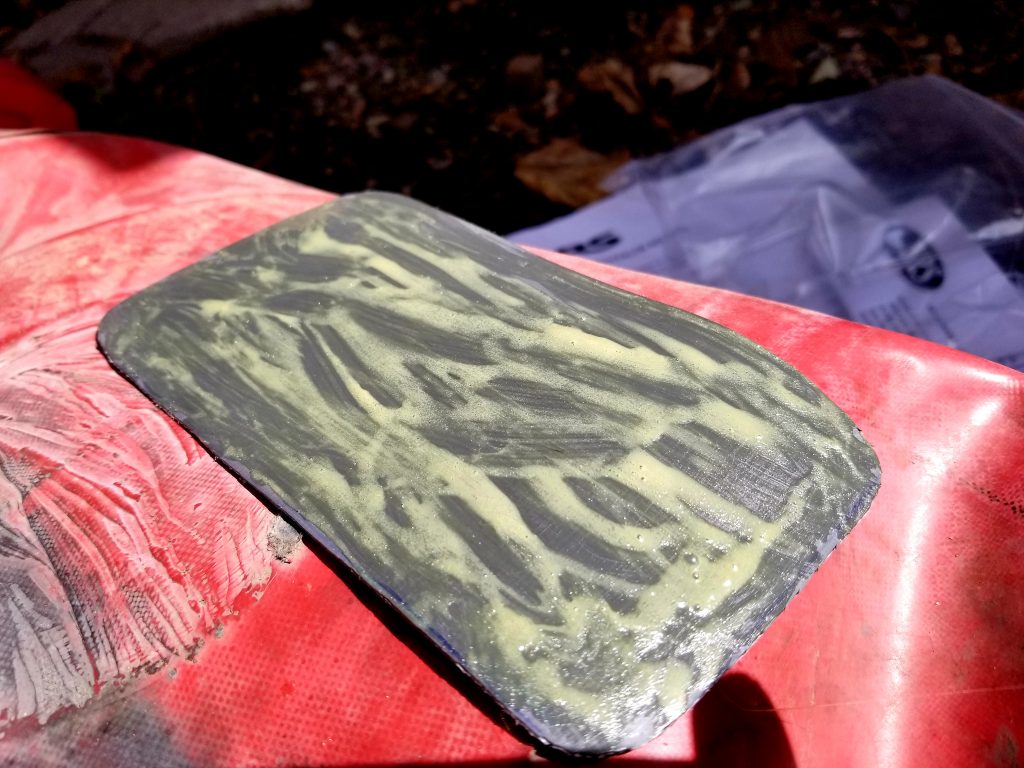
Note – I had 2 patches in an attempt to set one on the inside and another on the outside. The interior patch wouldn’t fit and having the glue on the outside made it difficult to manipulate. I ended up just doing the outside patch and it has held fine.
7. After applying the first layer of glue, let it set until it’s tacky but not dried. Then add another layer. Wait for the same result then add one final layer and wait again for the tacky texture. Use your gloves to test the glue, not your bare hands.
8. Lay the patch on the outlined area and get it lined up correctly. Use the rasper/roller tool to apply pressure until the patch is seated nicely and no possibly air bubbles or ends are loose. It will stick down pretty quickly with the pressure.
9. Leave for a full day. I put a heavy paver on top to keep pressure on the patch and left it for a day and a half. Then I aired up the tube until it was firm and monitored it for another day before putting pressure on the tube to see how the patch worked.
10. I used the same process for the floor. The tear was larger on the floor and I patched both sides. Everything has held up really well. I even had 4 people and 2 dogs on the boat, moving around and walking on the tube. The patch is showing no strain from that trip.
